
Ask Jared, Your San Diego Dog WalkerYour Go-To Guide for a Happy Dog:
Keeping Your Dog's Ears Clean and Healthy
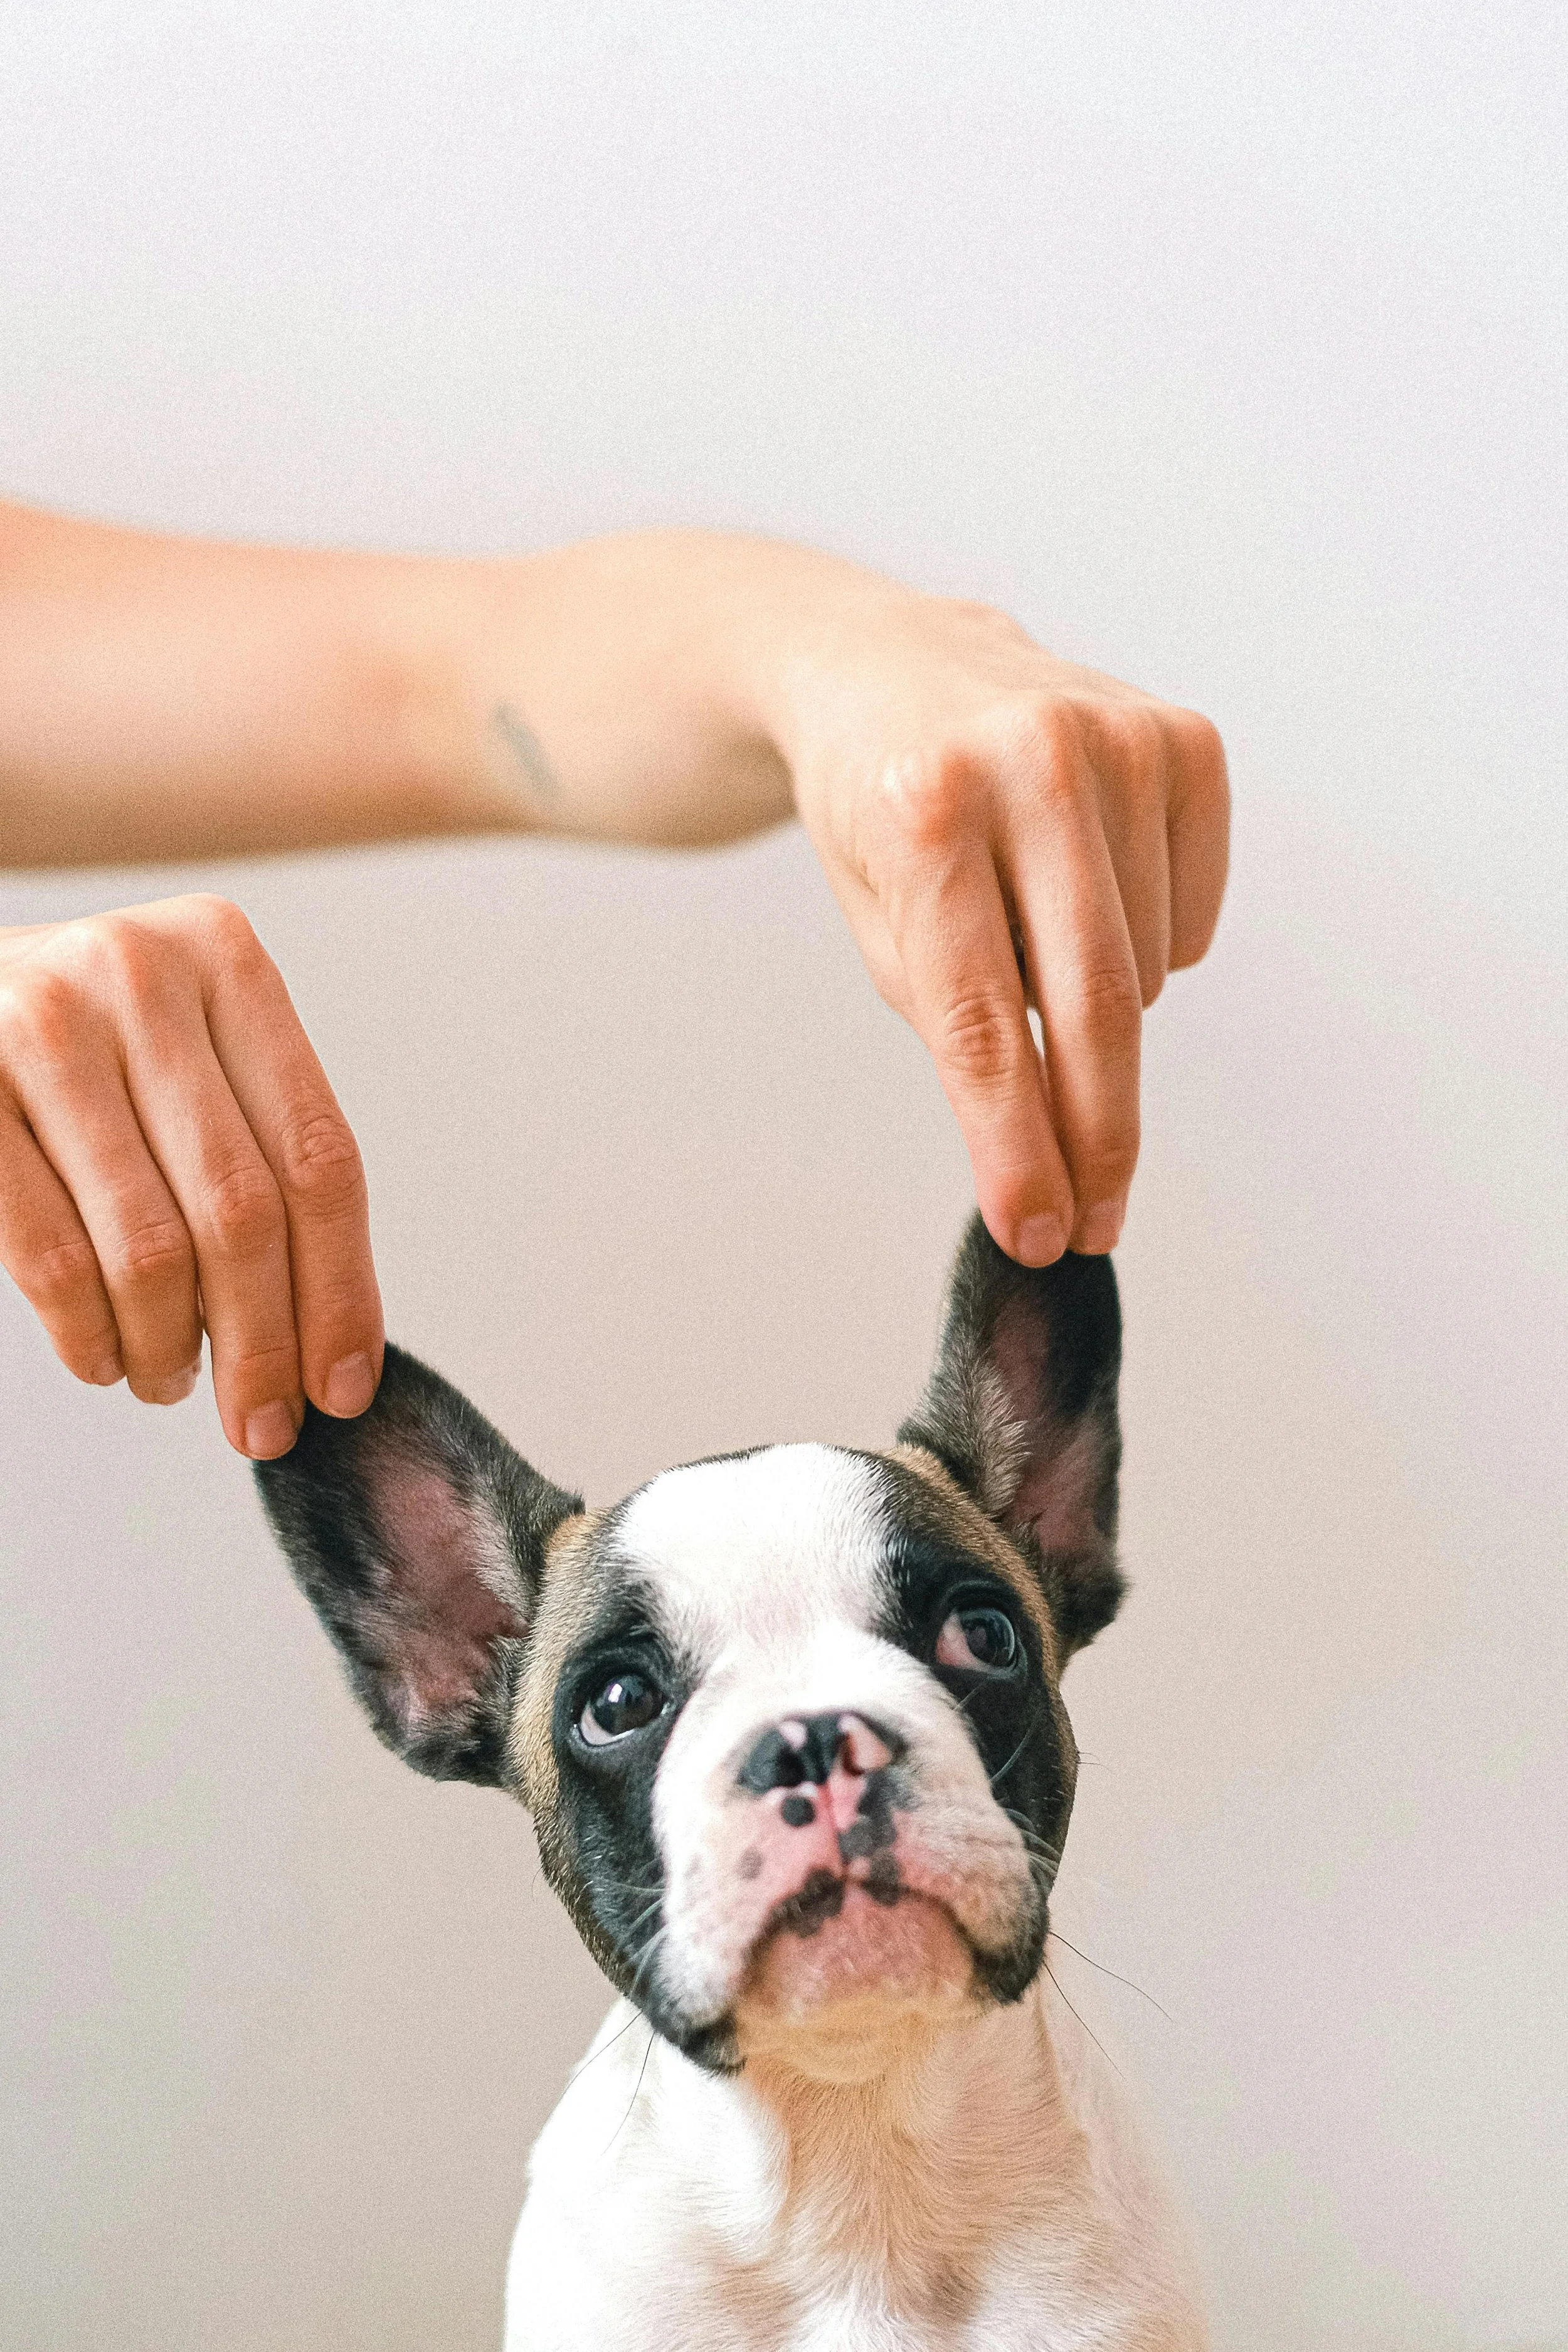
Photo credit: Anna Shvets (via Pexels)
Keeping your dog's ears clean and healthy is a vital part of their overall grooming routine. Proper ear care helps prevent common issues like infections, mites, and discomfort, keeping your furry friend happy and comfortable.
1. Understanding Dog Ear Anatomy and Common Issues
A dog's ear canal is more vertical and L-shaped than a human's, which can cause debris and moisture to get trapped inside. This warm, dark environment is a breeding ground for bacteria and yeast, leading to painful infections. Common signs of ear problems include:
Frequent head shaking or pawing at the ears
Redness or swelling of the ear canal
A strong, unpleasant odor from the ears
Dark discharge (black, brown, or yellowish)
Whimpering or sensitivity when the ears are touched
2. Essential Ear Cleaning Supplies
Before you begin, gather the necessary supplies:
Veterinary-approved ear cleaner: These typically contain drying agents and mild antiseptics.
Cotton balls or gauze squares: Use these for wiping the visible part of the ear.
Treats: To reward your dog and make the process positive!
Avoid cotton swabs: These can damage the eardrum or push debris deeper into the ear canal.
3. Step-by-Step Cleaning Guide
Most dogs only need their ears cleaned every 1 to 4 weeks, depending on their breed, activity level, and medical history. Follow these gentle steps:
Preparation
Find a quiet place: A calm environment helps keep your dog relaxed.
Examine the ear: Gently lift your dog's ear flap and look for any redness, swelling, or discharge.
The Cleaning Process
Apply the cleaner: Following the product instructions, gently fill the ear canal with the vet-approved ear cleaning solution.
Massage the base: Gently massage the base of the ear for 20–30 seconds. You should hear a squishing sound as the cleaner breaks up wax and debris.
Let them shake: Allow your dog to shake their head vigorously—this is crucial for bringing debris to the surface.
Wipe the outer ear: Use a cotton ball or gauze wrapped around your finger to gently wipe away any visible wax and solution from the ear flap and the uppermost part of the canal. Remember: never insert anything deep into the ear canal.
Repeat if necessary: If the ear is very dirty, you may repeat the process using fresh cotton balls until they come away clean.
Post-Cleaning
Reward: Always offer praise and a treat to end the session on a positive note.
4. When to See a Veterinarian
While routine cleaning is important, some issues require professional medical attention. Consult your veterinarian immediately if you notice:
A persistent foul odor or discharge
Signs of pain or inflammation that do not improve after cleaning
A foreign object lodged in the ear
Sudden hearing loss or loss of balance
Your vet can accurately diagnose the problem and prescribe specific medications, such as medicated drops for infections or treatments for ear mites.
By incorporating regular ear checks and gentle cleaning into your grooming routine, you can help ensure your dog's ears remain healthy and clear of infection.
I'm a certified pet sitter (which includes dog walking) by the National Association of Professional Pet Sitters, Pet Sitters International, Red Cross Pet First Aid Certified, Bonded, Insured and have over 50 five-star reviews on Google.
You can learn more about me by visiting my Website which is www.sandiegodogwalker.com.
#DogEarCare #PetHealth #DogGroomingTips #HealthyDogs #DogTips #VeterinarianAdvice #GroomingGuide #PetHygiene #sandiegodogwalker #SanDiegoDogs #ClairemontDogs #MissionValleyDogs #HillcrestDogs #NorthParkDogs
